I have been told, do a blog.
I will try.
Try to post as often as I am able to and answer your comments
Showing posts with label restoration. Show all posts

Wednesday, April 13, 2016

Boulle Decanter Restoration


There has been a renewed interest in Boulle marquetry Napoleon III furniture in the last years.
Most of the time, unfortunately, the cost of restoration is to high for a lot of customers or even compared to the value of the piece. It is sad as those pieces need to be well maintained.
Here is a little story on restoring a 1860-1880 decanter with almost all the original Baccarat crystals.
It arrived with the usual loose and missing brass, but also it had been meanly sanded, without loosing the engraving though, and sprayed with lacquer.


First thing to do is to lift the loose brass and assess the damage.

Epoxy is not the way to reglue Boulle. It is usally used without cleaning under and therefore the brass is bulging and is extremely difficult to remove when you want to do a proper restoration

Neither is contact cement. In fact you can not imagine how many pieces we have to restore that have been “repaired” with contact cement. It is not long term efficient on any kind of veneering

After cleaning the substrate and the inside of the brass of any glue and oxydation

The pieces is remoisturized and the pieces that are not to damaged are rehydradrated new glue is inserted and pieces are reglued in a vacuum bag


Other way to reglue what can’t or is not easy to reglue in the vacuum bag is sand bags

or hard foam like in this case isolation material

The top was really in a very bad shape, especially as those pieces are made with wood that are deeped in acids and other chemicals to achieve the ebonizing

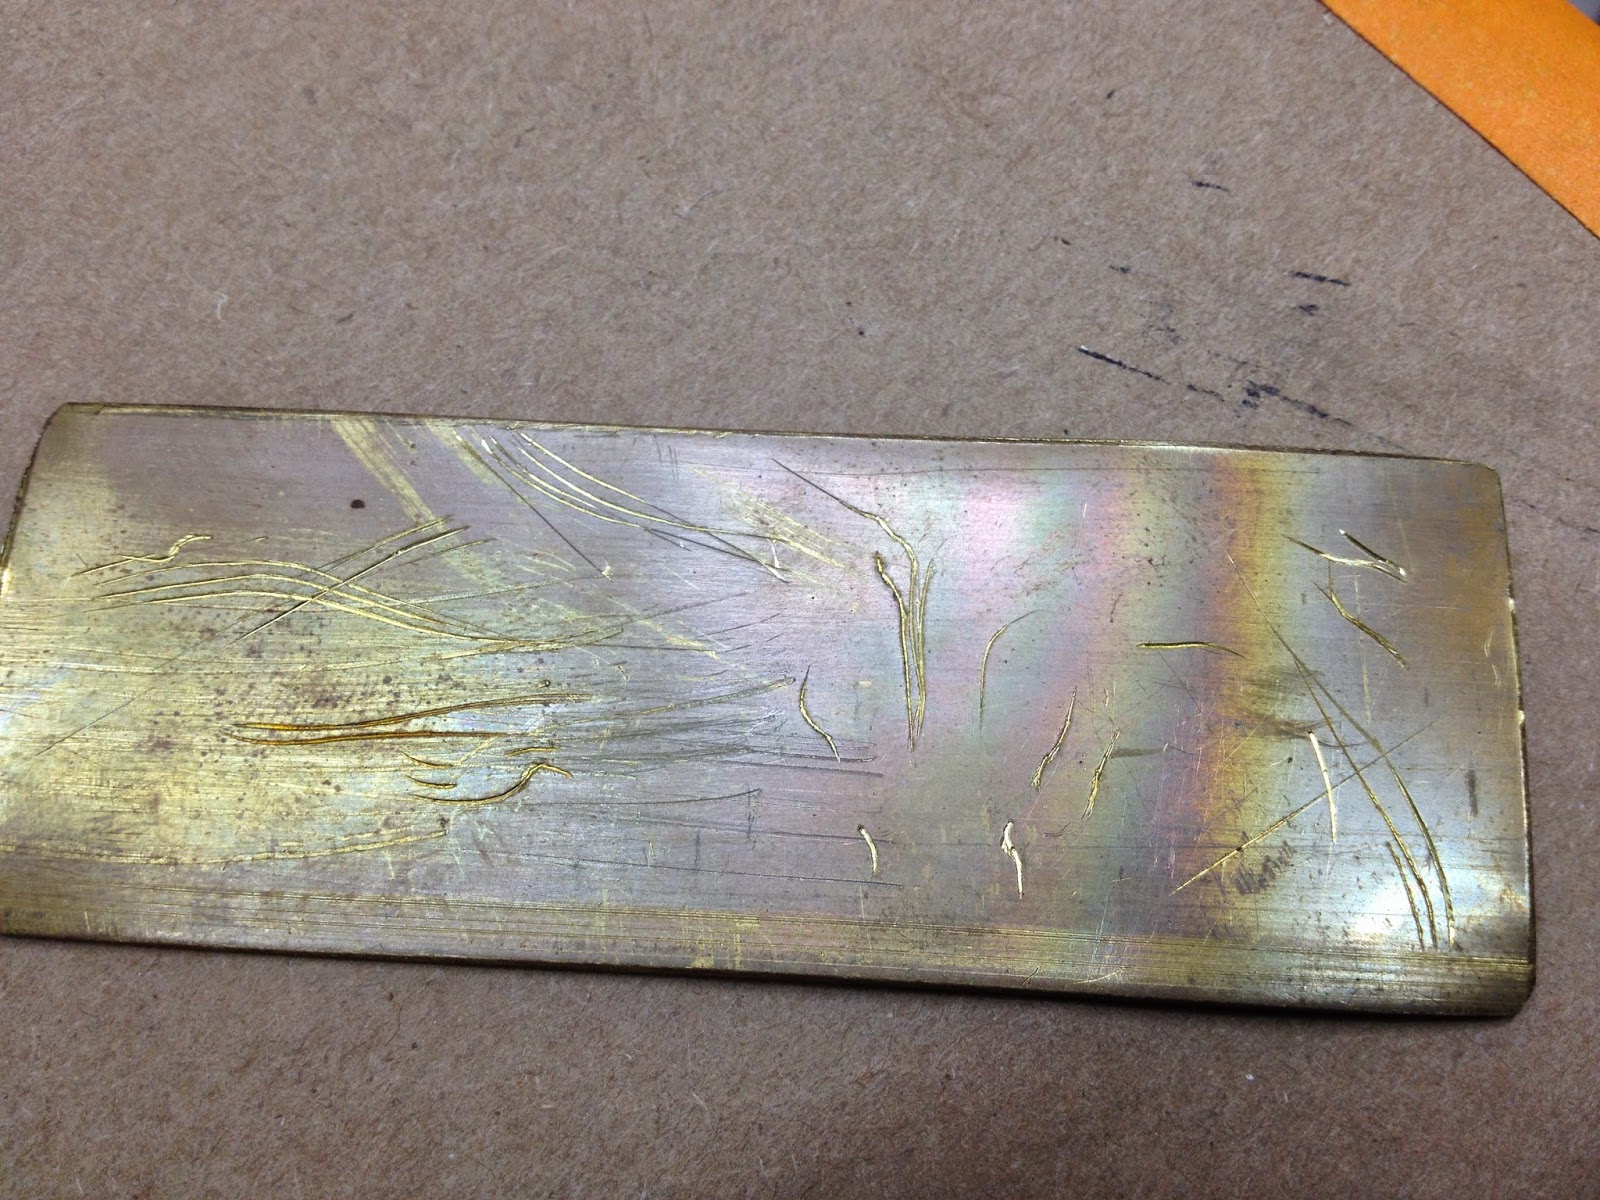
New brass pieces are engraved

Then the reopened kerfs and the engraving line are filled using the traditional pore filling methode but with soot black and charcoal to get a real nice black


You can see I was doing the black at the same time than a clock for which you can see the progress there
I am actually engraving the horn and it will be finished this week and I will post about it.

After a bit of polish the hinges and all the harware is put back on et voilà!!


Thursday, April 2, 2015

Boulle Clock Restoration - Part #1


We were contacted by a client to restore his Boulle cartel clock.
Boulle is no fun to restore, it is time consuming and quite a special.
For budget reasons we are restoring his piece by stages. The clock is composed of 3 parts and each of them will be restored in 3 sessions.

We will start with the top

We remove the bronzes

The unglued brass pieces are lifted and rubbing is made for the missing brass elements

The cavities are full of oxidized glue that needs to be cleaned

We apply moisture enough to bring back the fish glue to gel but not to much, as it will un-glue the shell

The back of the brass needs to be cleaned also, b humidifying the glue and scraping it carefully without distorting the brass pieces.

Then the pieces are glued back using fish glue

My favorite for this curves is sand bag or hot sand bag

Time for clean up with “eau japonaise”, an acidic solution with a slight rubbing compound to take of the crud.

Of course with boulle, it will un-glue and I will have to re-glue and re-glue, until it is finally stable.
Then again more rubbing for the shell this time. I used some of our old stock legal shell, the vegetarian type that was used in the 19th century thinner than the meat eater used in earlier boulle. This clock as a black backed shell which is not the mos common color, usually they are backed with red.

Rubbing

Fitting and gluing

I did not take picture of the engraving of the brass but the new pieces had to be engraved. Here are the tools

The tools I used the most. The two on the left mostly with a predilection for the losange on the brass
I have couple left over engraving on bones for a repair we did on a bargueño those where a little or not deep enough so we have them. The bone is very brittle like the horn or the shell and the side of the engraving tool the “burin” needs to be real shap to avoid excess splitting and jagged edge on the engraving lines. So I use it to test the sharpening for the shell engraving

Brass is really tough on the tool and I need to resharpen often as soon as the point is dull, otherwise you rip and this is not good. Each time you sharpen you have to test your attack angle to go straight and not get draged deep in the material, that it turns well or permit regular straight lines etc…


 Then pore-filling (more accurately gap filling) and engraving line filling with a mix of pumice and black ash first then ash alone.


I have rarely seen the horn being engraved but on that clock it is, one of the reason to choose a black shell

So after the black “pore filling” I cleaned the black filler out of the shell but the engraving was to faint for the gold to take so I had to re-engrave the shell to create a cavity a little deeper in order to be able to put some gold in there.
Then it is time for french polish


Re-glue the parts

Clean the dirty bronzes while I clean the hide glue of the french polish and touch up the finish where I may have left a print or two

I put an overlay of orange shellac to go a little more on the gold side

Some of the details of the new brass pieces


And now put back everything together


Before

And after

The client is happy and is going to send the next part, so see ya in episode 2 of Boulle Clock Repair!
Thank you for following
-- Patrice lejeune