I have been told, do a blog.
I will try.
Try to post as often as I am able to and answer your comments

Friday, December 20, 2013

Treasure Box - Series #2 - Post #7


Some of you reminded me I should keep updating this blog on those treasure boxes.
I had to look where I left it last time.
So since then I started working on the box itself.
I veneered, the inside bird and the inside of the box. The full blind dovetails where already made by Patrick Edwards.


I want to have the inside done before veneering the marquetry on the sides. I started anyway on those sides. I cut every pieces for three of them, except the greens as we are still experimenting on turning the bone veneer green.


Next one to do alongside with the green pieces


Here are couple close shot, I just love them


We have laid again the veneer packs and Patrick is ready to choose the palette for the top.


Suite au prochain épisode…
-- Patrice lejeune

All picture are copyrighted Patrice Lejeune and Antique Refinishers, inc. If you use them please give us the credits.

Little Gilding Job on a Huge Frame


I have been fortunate to get another great gilding job for Antique Refinishers, inc. in San Diego.
The client who sponsored me years ago to learn gilding had a huge painting, one of those with the gold background with a huge dark walnut frame.


He asked us to add some gold to it to tie it more to the painting. We proposed different versions using photoshop.


The third one was selected with water gilding on the inside carving “entrelac” with burnishing on the highlights and oil on the outside rail and bead ornement.
We were able to take of the inside elements without problem, because water gilding means you really wet the place when gilding and no finish really likes it. We had to do numerous repairs especially on those delicate rails and beads decoration. Those are so hard to turn when you are not a turner.

Applying gold leaf on the clay

Then the pieces are burnished on the highlights


Then the rail and bead were oil gilded with gold leaf also. wear and tare and dirt were added, and I kinda like the result from that


to that


-- Patrice lejeune

Tuesday, October 29, 2013

French Polish, reviewing the basics


I hear many things about French Polish, and some of them really make me jump.
One of them in particular that I heard one to many times on youtube from a famous class on woodworking (which decided me to do a video and a post): “When you are done French Polishing, take some steel wool and wax it”
WHAT??? French Polish is a time consuming, GLOSSY finish. If you do not want a glossy sleek finish, DON’T even consider French Polish as an option!!!
Another one showing this time abyssal stupidity, from a finish teacher in well know wood college translated “tampon” as…. “tampon”, but as it was not very practical to polish with a tampon, he said to his student that the French, polish with a feminine hygiene pad!!!!! And this is a true story!!!! From a teacher!!!!
WHAT??? Such an item in the 18th century????
And so on, so on…...
I started polishing at Ecole Boulle, an Art and Crafts college in Paris during my 4th year so it should have been in 1995 or 96. Then I started in the restoration business in 1997, I did not start french polishing right away, but I was doing touch up, rejuvenation on antique one. Then around 2000 I guess, I started to do way more of them as our polisher left.
I am now restoring furniture but also building furniture, our specialty is marquetry (inlay). Both of those activity often require french polish for our company Antique Refinishers in San Diego (I just opened the new website, it is not 100% finished yet, but it is functional).
I teach alongside Patrick Edwards at the American School of French Marquetry (I am currently working on the website so it should improve soon), where I teach marquetry of course, but also introduction to French Polish.
For starters, French Polish is a funny name for me. The term in french is “vernis au tampon” Translating as “polish with a pad”.
The tampon is a pad, and you apply varnish with it.
It has been called “french polish by our english neighbors and “friends”, jealous of that secret polish, before they did something similar, we french called “vernis anglais” “English Polish”. I happened to think it’s funny.
I never heard of “french polish” before I came to work with Patrick Edwards in San Diego where two of my first jobs involved French Polish.
His famous Louis-Philippe Tilt-Top Tables

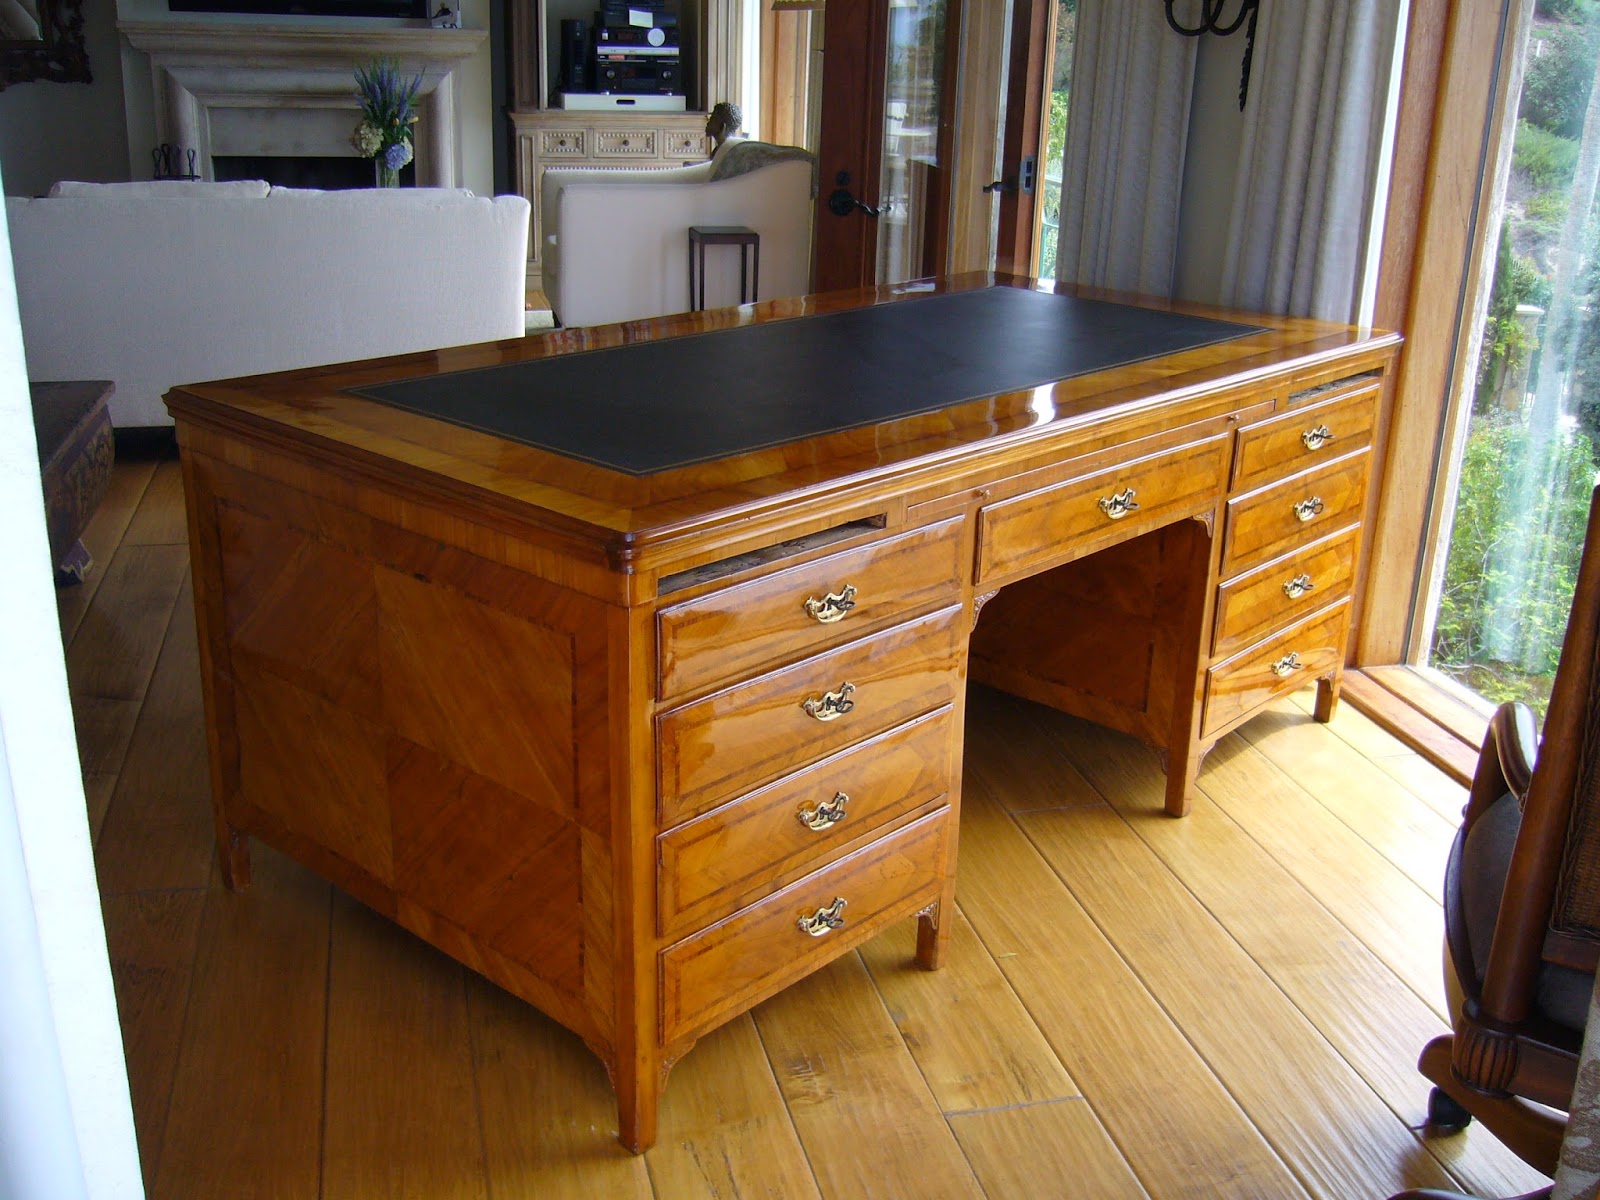
And the restoration of a huge bookcase and partner desk considered by the insurance damaged beyond repair
This part is only the top

I lived in it like in a boat for couple months


Time for the video now.
I am not saying I do it better than anybody else, but I can sure assure you that French Polish ain’t a wax finish
There is many different ways and recipes, I am just showing you the way I do it and why I do it that way.
I already received couple emails since I posted the video on youtube thursday or friday, and it seems we may have to do some more for each steps.
Let me know if you want more, how interested you were and what part was not clear enough so we can make progress in our video. This is a low tech production by the way.
Watch our video on Youtube


Friday, August 23, 2013

WPatrickEdwards: Mr. Lecount Gets Fitted For A Bonnet

WPatrickEdwards: Mr. Lecount Gets Fitted For A Bonnet: Le Count Ready For Fitting I have spent several days this week fitting the Lecount works to the case, which is assembled without the bon...

Thursday, August 22, 2013

Treasure Box #2 - Sawing and Dying Veneer


For our best pieces, we use sawn veneer. It is usually 10 time as expensive as sliced, but it is a better quality product.
When the veneer is sliced, it is often steamed or heated and the shearing of the knife damage the structure of the wood.
When the veneer is sawn, it is just like solid wood, just thinner.
Patrick Edwards did a good blog entry on sawn veneer with a video of one of the last veneer sawing comapny, near Paris, Georges et Fils.
To read the article it is here.
And for the video I will put a direct link

So we still have a bit of stock from when we had money, or when we have commission that require sawn veneer, we buy more than we need to provide for our specs.

the veneer is kept in a “cave à placage” a veneer cellar, Patrick likes to call it the veneer cave, it must sooth his primal instincts. The temperature has its importance but mainly we watch the moisture, that we keep around 60%.
The table is in a terrible mess as we dug into the veneer for the boxes and for a clock Patrick is making.

We have veneer but we are low in dyed veneer, especially the greens. So, we have decided to cut some veneer.
We have only a old small delta, but with a resaw king blade and an improvied fence, it does work.
I tried couple spiecies to see how the blade react, and it is not always the haredst wood that are hard to cut. But in the hard wood selection, the maple is really a mean one.

when tuned up, even with an average quality bandsaw, but with patience, you can do wonders (not sure about the spelling of that one).
The veneer is 1/16”, like the one we buy in France.
We can not do yard wide veneers like in Paris but for marquetry packs, and not background this is perfect.
We have been experimenting with a pressure cooker to dye the veneers. It does work pretty well. I put it on twice a day until pressure has build up, and this for three days and it seems to be sufficient.

We use ALJO MFG. CO. and Lockwood’s water stain that Patrick had bought years ago.
When sanded a bit and cut into you can see that the color has penetrated to the heart of the veneer.

We will carry on on the dying wood. The next step, is to dust my German to try to read AND understand that book about staining veneer.

For the green bone it is another story, and not a success yet. We tried to use the same technique and it appears the pigment size are to big to penetrate the cell of the bone. I will try transtint as it is a dye not a stain, and also the chemical approch with copper sulfate that I found in an old book

You can see that the stains grab very well on the outside even if it seems black, but inside….

I will let you know what happens!
Cheers
-- Patrice lejeune

Friday, August 9, 2013

Treasure Box #2 - Marquetry incrustation on assembly board - Assembling Marquetry video


It has been a while since I shared the progress on our box.
So here it is
Previously on Box series #2 inspired form that antique which remid us a bit of Gole's painting in wood.
I have cut all my pieces for the 2 inside panel of the box


And shaded them

For todays episode, there is first the background cutting.
It starts with glueing the design on the packs. The packs are a backer-board 3mm thick, grease paper, 4 layers of bloodwood sawn veneer, a front board and the design on top.

The background is cut on the chevalet

Like for the pieces, the pack is riveted with nails. The outside of the pack is taped the inside is nailed. NO nails in the background to keep.

There is inside background pieces marked with a red cross for easy identification when I cut and to remember to keep them. To keep them in place, I use what we call bridges, a link from the main background to the isolated pieces, like bridges to an island if the bridge was what kept the island in place
When we are done cutting, I take of the tape on the back first. I tape the pack while cutting, and especially the back, so it stays well in place, no pieces sticking out or vibrating.

Then i take of the tape from the front and start pushing gently the waste out of my background, being careful not to wedge them or to brake things.

I keep everything in a tray as it is hard at that point to be sure you haven’t broken any tiny pieces, so you want to keep everything for safety.

Then I open the pack with a razor blade, layer by layer, being carefull not to cut in the veneer but in between the layers. First the front board

Then the first layer of background, here is a close up where you can see the bridges again

Ready to start putting it together, the background pack goes in the press while putting the panels together so the veneer do not move, especially in a dry day.

I put glue on my assembly board, a nice thin layer, fast and clean.

And put the background face down.
We are building from the back, the background is glued face down on the paper what we see is the glue side.
The front of the marquetry will be the paper side. The paper and the glue will hold the marquetry together up to the moment comes to glue it to the actual piece of wood.

And put it together


I did a video for you guys, and I must confess i am pretty proud of it.

Same for the second panel

Bridge on that one to

Opening of the pack

Set up your area

And put it together

Here are the two pictures with a bit of alcohol to see the result, I can never resist.


Next step is actually to build the box

Thank you for following
Cheers
-- Patrice lejeune