I have been told, do a blog.
I will try.
Try to post as often as I am able to and answer your comments
Showing posts with label old brown glue. Show all posts

Sunday, December 2, 2018

Treasure Box III - Post #4: Cutting Marquetry

So with a bit of tardiness here is an “account” on cutting the marquetry panels our Treasure Box III
As you know, I now do my marquetry in LA with a reduced but sweet set up.

On a piece by piece project the drawing is paramount to the final quality of your marquetry. No change can be made afterwards so I usually work my drawing until Patrick and Kristen pry me away from it.
Once this first stage is complete. We usualy have a good idea of what wood will be used where but there is always a bit of change and it is fixed at that moment. Each number correspond to a wood. We currently have a palette of more than 50 different woods and colors in sawn veneer.

There is always a possibility of change by re-cutting the pieces if you are not happy with the colors, but it is a waste of wood and time.
The pieces are cut on paper first and placed in an exploded view

I leave enough space around the papers for easy handling

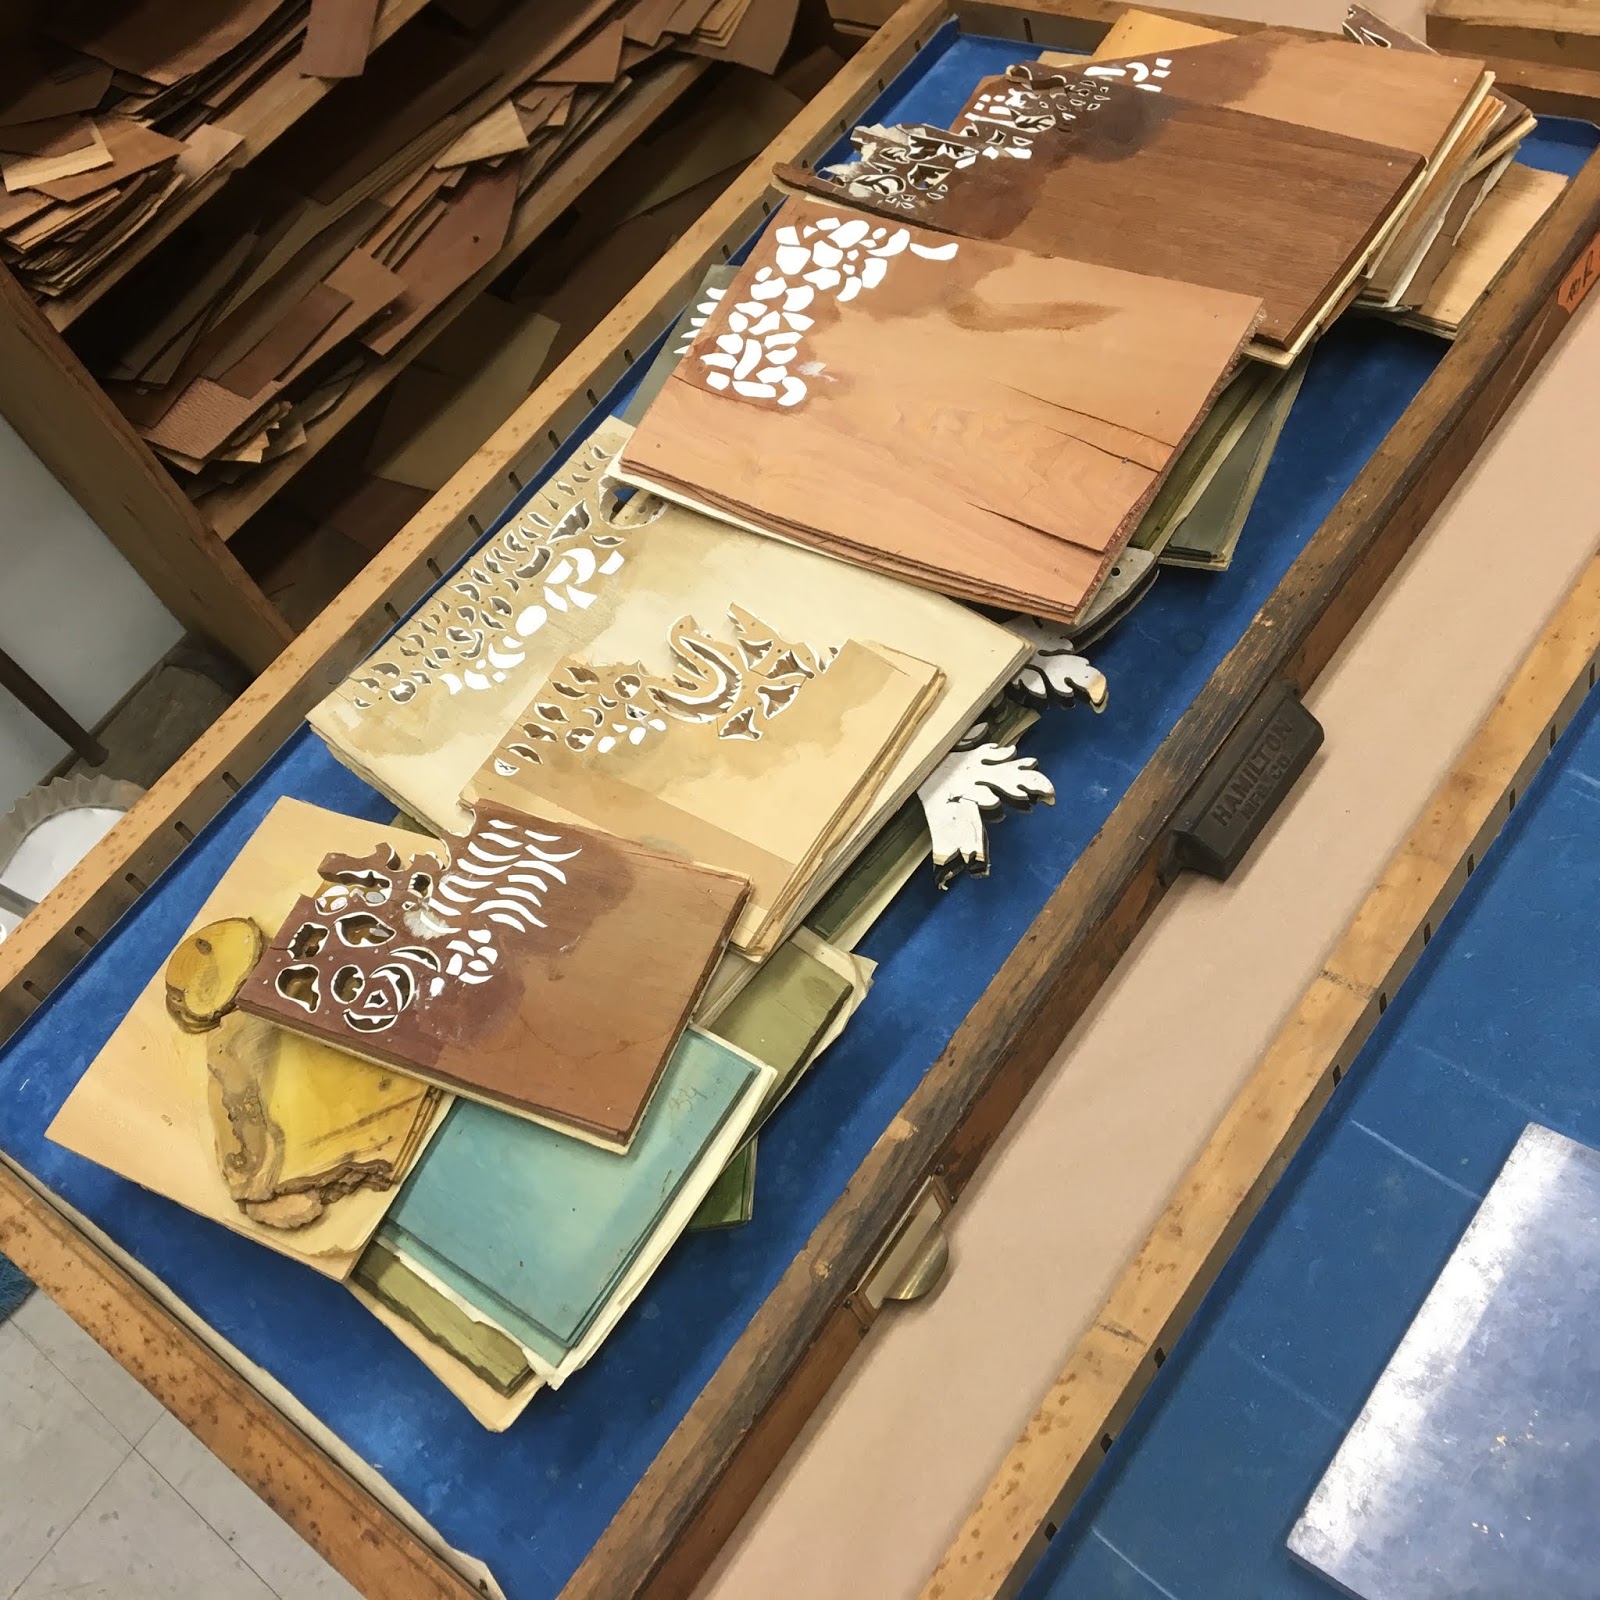
On projects with a lot of pieces I cut one side at a time.
Here is the tray for one of the sides

Each piece is transfered in a numbered square following the guide.
Then the pieces of paper are glued to the corresponding veneer packet. Each of our pack are 4 layer thick, so we will end up with 4 boxes.

The pieces are cut on the chevalet.

Ans are laid on a tray

Some of them are really small


Some are pretty intricate

Some need a particular attention to accuracy so they nest nicely into each other

The process is repeated for each panel.


The trays fill up

At this point I check the pieces that I marked as possilby not good enough while cutting and decide which needs to be recut.

Once all the pieces are cut and approved, it is time for sand shading.

I have been using gas and actually found it better than electric plate.

On traditional marquetry, I like to give to each piece a bit of shading. It gives volume.

Once all the shading is done it is time to cut the backgrounds, one at a time.

The picture is build face down on paper Using hot hide glue

For those backgrounds, there is a lot of “islands” isolated between pieces. We use bridges to keep them pefectly located.
Those bridges are removed as we go.

Here are, prior to mastic, the 2 sides


The front

And the top

Here we go for the marquetry!
-- Patrice lejeune

Tuesday, June 14, 2016

Boulle Clock Restoration


18 months ago we started to work on a Boulle clock restoration for a gentleman back east.
We received the clock piece by piece, starting with the top to show the process and what we could do to our client.
First thing was bronzes removal


The lose brass elements where lifted and then, the fish glue in the cavities was rehydrated and removed, and the back of the brass elements were scraped clean.


Missing pieces are drawned by rubbing on a termal fax paper


The missing elements are cut on brass or on pre CITES black backed tortoise shell.


Other pieces are cut

And glued down using sand bags

The cleaning is done with “eau japonaise. I do not like to use it when there is wood elements on the Boulle marquetry, as the acidic content may be to agressive and damage the wood, but in this case it is perfectly fine.

I also discovered the shell was engraved, something I have rarely seen

When eveything was restored, I used suit black to fill the brass engraving


Then the shell was re-engraved, the cavity filled with gold dust and french polished. It can be sometime tricky to french polish on brass ans the difference in temperature can bring condensation and give a milky consistence to the shellac.

The bronzes were cleaned and installed


Our client being happy with the first part, sent us the rest fairly soon after and I started working on those. The based was the first to arrive. It was the most damaged part of the clock and also the hardest to restore considering the curviness of the sides.


But also because of a lot of missing elements and details on a very tight radius part


Like for the other part, I started by removal of the bronzes, lifting of the lose brass elements and cleaning of the cavities and the back of the brass pieces.


Like for the other pieces, I cut the missing elements out of brass and shell. I harvested some of the original horn from hidden under the bronzes for this purpose.

Cleaning and reglueing using sand bags

And Cawl for the rare flat spots

Before and after cleaning the brass


I recreated the missing elements using the little informations and inspiration from the rest of the decorative elements


We ordered some missing finials in France using a picture of a similar clock


While waiting for the bronzes to be cast in France, I put the clock to the black at the same time of a decanter I was working on at the time


Then the shell was re-engraved


And gold dust was laid in the engraving

Then french polish and bronze cleaning


And finally when the finials were received, we put it back together.


The body had a tendency to lean quite a bit to the back, so I added some dicreet washers on the back horses

And substantial ebony wedges on the top

Patrick also made a new top hinge for the door to make it work very well and a new key to fit the lock.
Now, it is ready to ship!


-- Patrice lejeune