I have been told, do a blog.
I will try.
Try to post as often as I am able to and answer your comments

Wednesday, October 1, 2014

Treasure Box - Series #2 - Post #13: Top incrustation


As promised some news on the marquetry top for the treasure box series #2
The challenge here is to insert the oval white bone inlay first then cut the rest of the background repositioning the pack perfectly as some of the marquetry looks like it moves in front and in the back of those bones.

I first build the pack with 4 layers of paperbacked ebony sawn veneer

I used a idea of mine and an idea from Patrick to locate perfectly the veneer with the 2 drawings that had to be used to cut this background twice.
I used lines and a v cut to clamp the pack with the first drawing and he second drawing


and drill 4 holes with a bit the right size to use veneer nails to rebuild the back after cutting the oval.
The drawing for the oval has bridges to keep everything at the right spot


Cutting the cavities on the marquetry chevalet

I prepared a light paper assembly board as I had to glue it twice on an assembly board and did not want to add to much paper and glue to the front.

I had to cut some ebony string inlays to go in sandwich between 2 bones purflings.

And soaked the bone to make them more bendable.

Here is the background with the oval cut done, the ebony string inlay and the bone. The assembly board is ready, the glue is hot and I have podcast on my Ipad, ready to go.

The background is slapped down on the assembly board with hot hide glue

I cut the middle bridges as I go and insert the 3 string inlays in the cavity, here is a particularly horrible picture to illustrate this step

You can see now the locator hole Patrick thought about to rebuild the pack precisely

and the rebuilding in action

Ready to cut some more.

The pack was fairly heavy (3 Lb) and the ebony is really hard to cut. 

It took me roughly 5 days with 5 hours of cutting a day to finish it. This is after 3 days.

But the locators did work great. As you can see the pieces I had to keep as they were to small for bridges are exactly the same, better than expected.

When I open a pack I always keep all my trash you never know what you are going to miss

Like this broken bridge

I got myself ready for incrustation


A series of picture to illustrate the incrustation session, almost 2 weeks for 4 panels


And as usual I love details shot. Please pardon this excess of pictures, but this has been my biggest marquetry challenge so far and I did sweat a lot on that part, and not only because I was working at 85-92 degrees because of successive heat waves…


Thank you for following !

-- Patrice lejeune

Thursday, August 28, 2014

Treasure Box - Series #2 - Post #12: Sides Marquetry incrustation


I have been back full time on our boxes for over a week now so I have some progress to report.
I have been selecting veneer out of our veneer cellar for the ebony background.

From the experience of the previous series I paperbacked the ebony as it is a very brittle wood. Better be safe than sorry

Then built the packs in 4 layers without forgetting the grease paper, one of my specialty in the mistake department. Teaching marquetry has been a great help as by reminding the students to not forget it, it seems I myself stopped forgetting to insert it.

When the packs are made I glue the design on

another lesson from the previous series is to drill the packs for the nails. So on this project I used red for the bridges, to be really visible, blue for the nails and a red dot for the entry points.

Next step is to cut the background on the chevy. Ebony is really tough on the blades, very abrasive.

I am cutting all the line away because I really do not want to have to trim the ebony, which may happen if I am to greedy for precision.

Everything is kept inside the pack with tape to keep the integrity of the pack and avoid breaking any piece of the fragile background.

When I am done cutting I remove the tape and carefully remove the plugs of waste.

Then I open the pack layer by layer. I keep the rest pressed at all time to avoid hygrometric variations, as I said before, I really do not want to have to trim my ebony. Also everything is kept in a tray as precaution until I am done incrusting a panel, you sometime do not know right away if you have broken a piece.

16 marquetry panels, some of them are on the other side of the assembly boards, 4 times 4 sides.

The green bone are still in the dye I will incrust them later

An I really like some of Patrick choices for the color palette, I think we improved from the first series, we always learn.

Next step, cutting the tops backgrounds and this is going to be a really difficult job. In yellow, the bone element, in green the green bone leaves and in blue the isolated background elements that I have to bridge in place and carefully keep.

This is a really exiting project
Cheers
-- Patrice lejeune

Monday, August 18, 2014

Tuesday, August 5, 2014

Biedermeier/30s Table #4 - Almost done


Last time I posted on that project I was steam bending my mouldings.

The columned were veneered in a previous post.


Since this post we had another job to do a video on veneering column with Liquid Hide Glue that we posted on our Old Brown Glue playlist on youtube, we are pretty proud of it.

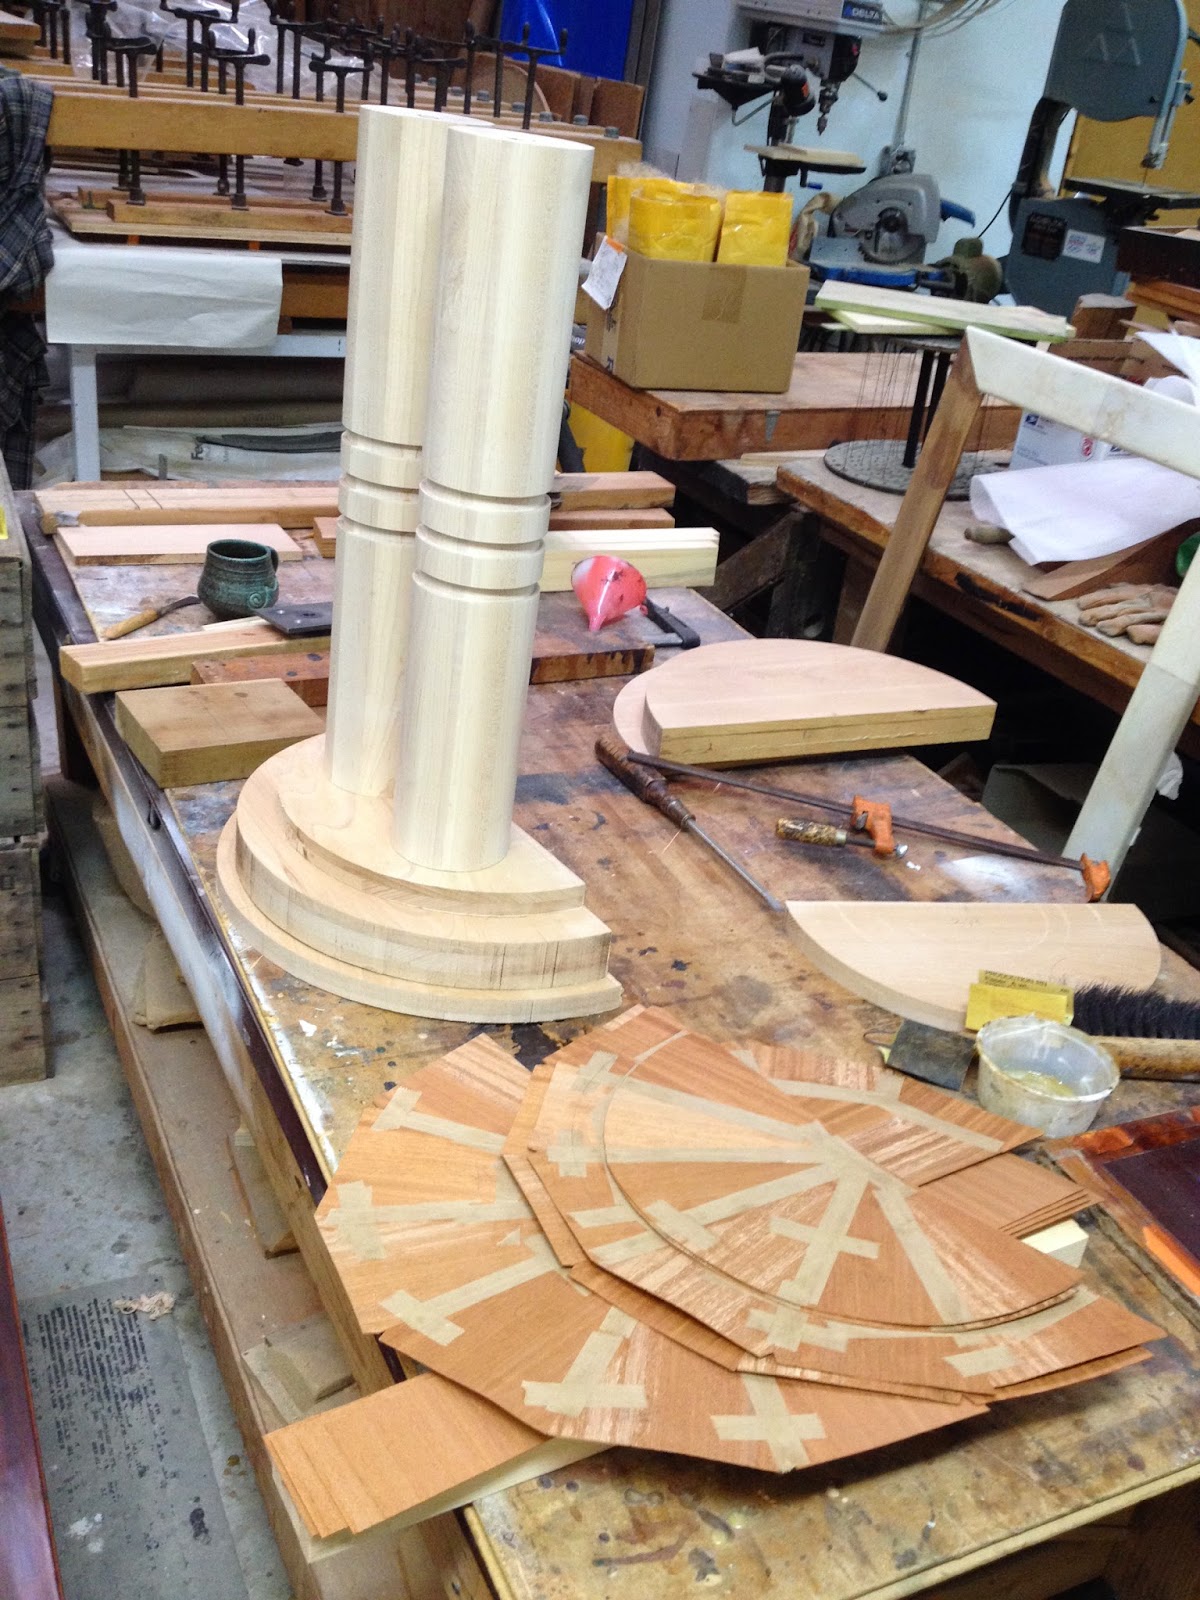
The columns were turned with groves to allow for black rings.

The rings were turned in cherry dyed and broken to be glued in place. I rather break than cut as it will not change the dimensions and also the break will glue back perfectly to its original place.


With that done the base was ready

One last steam bending, I used the apron to steam bend the mouldings for the apron and the top to be sure not to damage my top veneer.

What I love about hide glue and particularly Old Brown Glue, as it is so easier to work with on big glueings, is that I can mess up. Here the moulding was not flush so a bit of water a hot iron and hop! Done.


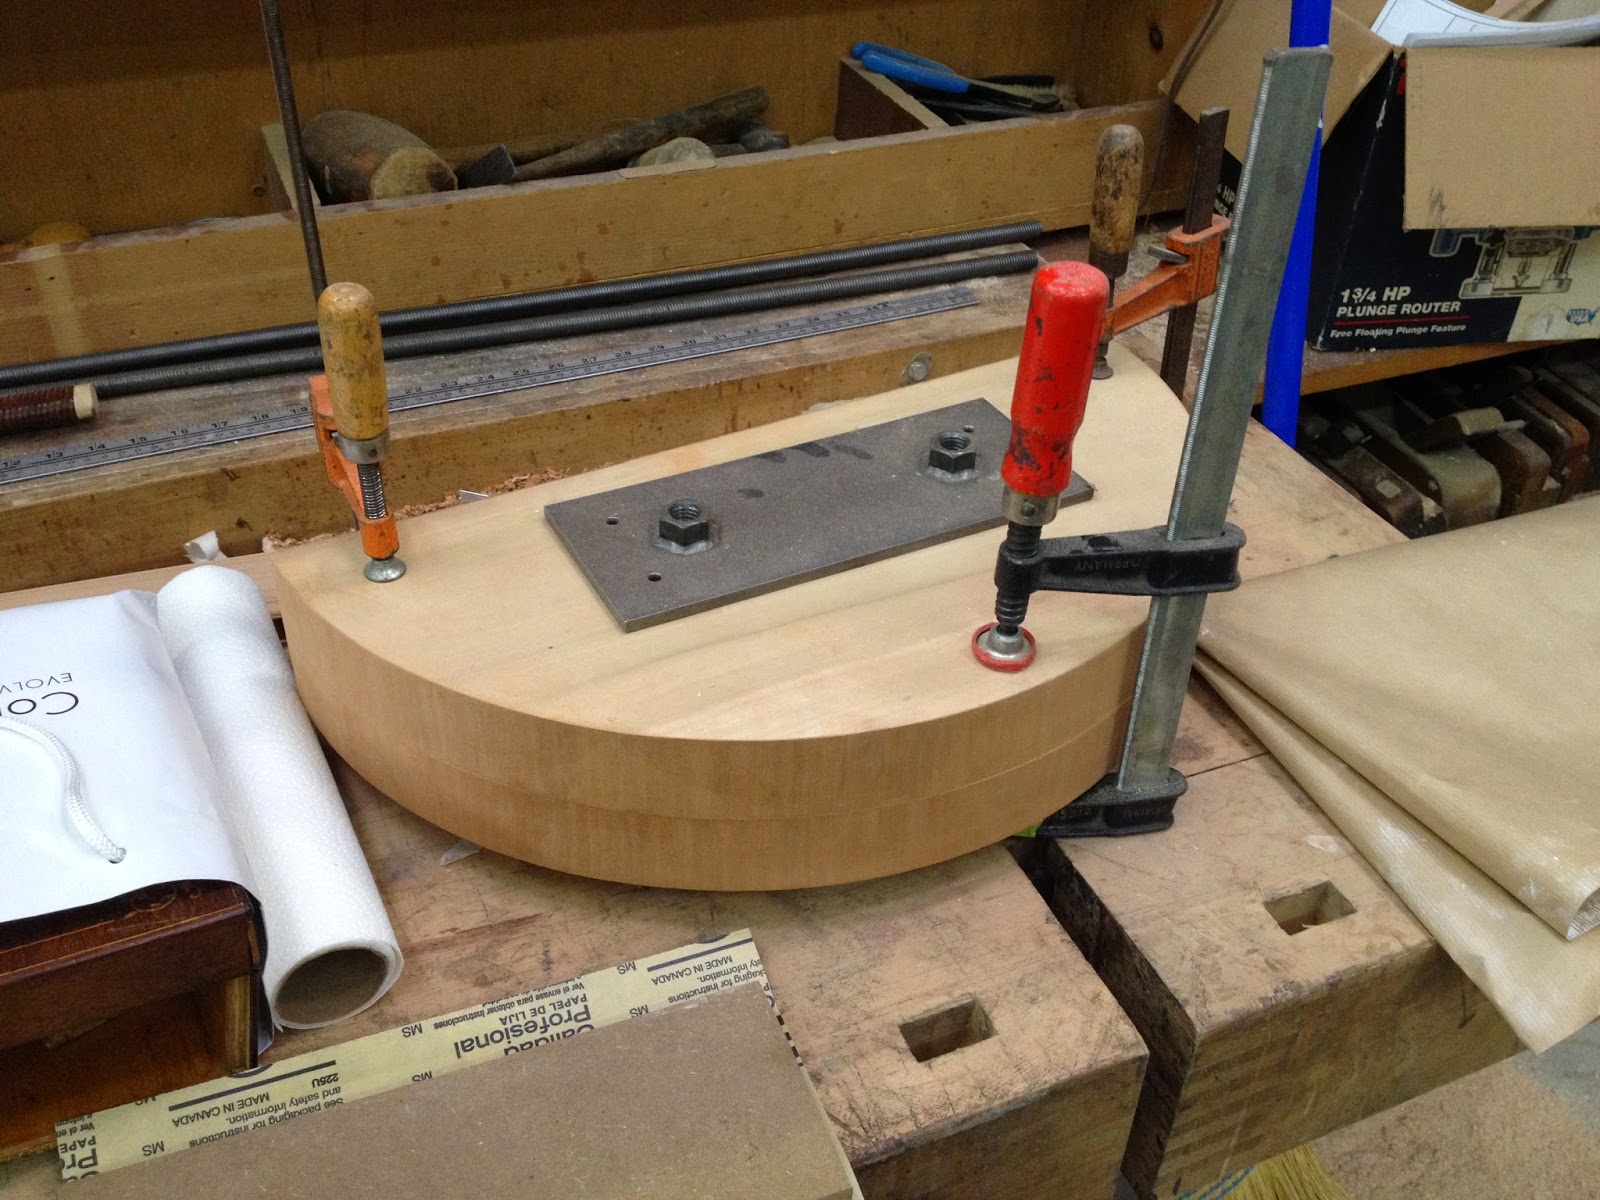
We have bolts going through each columns to connect with the top. We had a plate made by our friend Jesus who makes our chevalet kits for the school.

The plate was inserted in the capital with a wooden piece on top to allow for more glue surface.

Then the capital was glued to the table.

Leaving access to the bolt, hopefully rightly placed.

We found some nice original rails for a round table in our parts room nicely called the graveyard. We can pick up dead bones there and resurrect them in furniture.


The base is bolted on for a test run.

Then surprisingly enough it does not tip off, it is flat and everything open and close like a charm!


So couple touchups and sanding here and there and it is off for finishing, which will be the next and last post on that job!
Cheers
-- Patrice lejeune