We have been hired to make a dining room table from a 30’s model and slide it on the Biedermeier side.
This is not our usual traditional furniture making but it is also a nice change in the usual styles we work on.
We started with a simple design to show the overall idea
Brick laid apron in pine for a light top
Poplar “plaque to glue under the top. it will host a metal plate to bolt the lower part to the top
The base is made out of beech, for an heavy base. And like usual we work only with hide glue or the Liquid Hide Glue Old Brown Glue.
A little look at the general aspect. The columns are turned in soft maple. I have already done my mahogany sunburst for the base at that point
Final shaping of the base
We always tooth our surfaces when we veneer to maximize the adherence of the glue
I stupidly did not take a picture of the actual glueing of the edges but I used one of those movers belts.
Toothing the faces before glueing
Up to today I have the straight aprons for the leaves and all the base surfaces veneered.
Patrick is going to veneer columns using his techniques described in his article “Master Class: Low-tech method for veneer columns” you can find here http://www.oldbrownglue.com/articles.html
Thank you for following and see you in the next episode.
It has been a while since I posted some update on our project.
I have been finishing cutting all the marquetry pieces except for the green bone, which is being died right now. I finally adopted a recipe of copper sulfate and turmeric, the arsenite for the traditional Paris green being out of the question.
So all the sides were cut.
I divided the top into 4 sections
Top corners
Bottom corners
What I call the staples, the scrolls which links the inside medallion to the outside corner decorations
And the Central part with the bird and the white bone jasmine
You can see on the previous picture couple papers left over on the lower left side, those are the green bone leaves I still have to cut. The map under shows in green all the green bone leaves for the all top.
This green bones will be the subject of the next post.
As usual do not hesitate to ask questions, like and share!
Some of you reminded me I should keep updating this blog on those treasure boxes.
I had to look where I left it last time.
So since then I started working on the box itself.
I veneered, the inside bird and the inside of the box. The full blind dovetails where already made by Patrick Edwards.
I want to have the inside done before veneering the marquetry on the sides. I started anyway on those sides. I cut every pieces for three of them, except the greens as we are still experimenting on turning the bone veneer green.
Next one to do alongside with the green pieces
Here are couple close shot, I just love them
We have laid again the veneer packs and Patrick is ready to choose the palette for the top.
Suite au prochain épisode…
-- Patrice lejeune
All picture are copyrighted Patrice Lejeune and Antique Refinishers, inc. If you use them please give us the credits.
I have been fortunate to get another great gilding job for Antique Refinishers, inc. in San Diego.
The client who sponsored me years ago to learn gilding had a huge painting, one of those with the gold background with a huge dark walnut frame.
He asked us to add some gold to it to tie it more to the painting. We proposed different versions using photoshop.
The third one was selected with water gilding on the inside carving “entrelac” with burnishing on the highlights and oil on the outside rail and bead ornement.
We were able to take of the inside elements without problem, because water gilding means you really wet the place when gilding and no finish really likes it. We had to do numerous repairs especially on those delicate rails and beads decoration. Those are so hard to turn when you are not a turner.
Applying gold leaf on the clay
Then the pieces are burnished on the highlights
Then the rail and bead were oil gilded with gold leaf also. wear and tare and dirt were added, and I kinda like the result from that
I hear many things about French Polish, and some of them really make me jump.
One of them in particular that I heard one to many times on youtube from a famous class on woodworking (which decided me to do a video and a post): “When you are done French Polishing, take some steel wool and wax it”
WHAT??? French Polish is a time consuming, GLOSSY finish. If you do not want a glossy sleek finish, DON’T even consider French Polish as an option!!!
Another one showing this time abyssal stupidity, from a finish teacher in well know wood college translated “tampon” as…. “tampon”, but as it was not very practical to polish with a tampon, he said to his student that the French, polish with a feminine hygiene pad!!!!! And this is a true story!!!! From a teacher!!!!
WHAT??? Such an item in the 18th century????
And so on, so on…...
I started polishing at Ecole Boulle, an Art and Crafts college in Paris during my 4th year so it should have been in 1995 or 96. Then I started in the restoration business in 1997, I did not start french polishing right away, but I was doing touch up, rejuvenation on antique one. Then around 2000 I guess, I started to do way more of them as our polisher left.
I am now restoring furniture but also building furniture, our specialty is marquetry (inlay). Both of those activity often require french polish for our company Antique Refinishers in San Diego (I just opened the new website, it is not 100% finished yet, but it is functional).
I teach alongside Patrick Edwards at the American School of French Marquetry (I am currently working on the website so it should improve soon), where I teach marquetry of course, but also introduction to French Polish.
For starters, French Polish is a funny name for me. The term in french is “vernis au tampon” Translating as “polish with a pad”.
The tampon is a pad, and you apply varnish with it.
It has been called “french polish by our english neighbors and “friends”, jealous of that secret polish, before they did something similar, we french called “vernis anglais” “English Polish”. I happened to think it’s funny.
I never heard of “french polish” before I came to work with Patrick Edwards in San Diego where two of my first jobs involved French Polish.
His famous Louis-Philippe Tilt-Top Tables
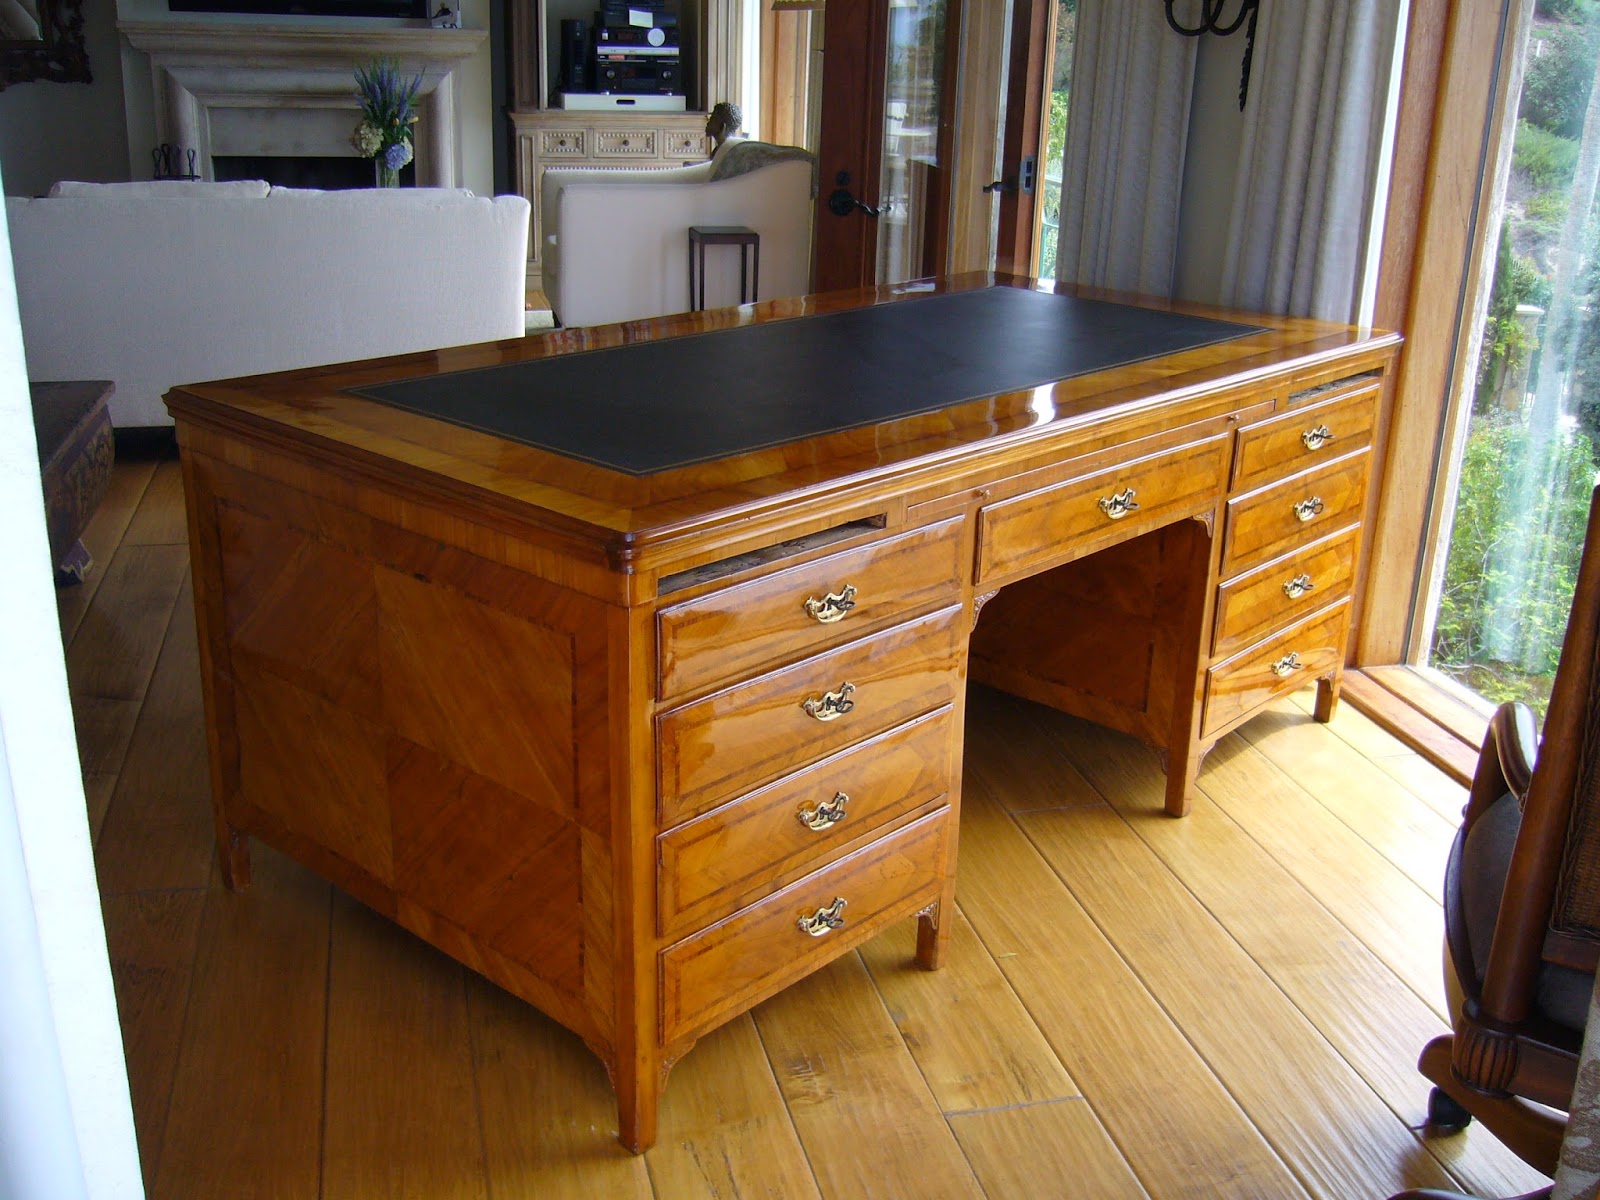
And the restoration of a huge bookcase and partner desk considered by the insurance damaged beyond repair
This part is only the top
I lived in it like in a boat for couple months
Time for the video now.
I am not saying I do it better than anybody else, but I can sure assure you that French Polish ain’t a wax finish
There is many different ways and recipes, I am just showing you the way I do it and why I do it that way.
I already received couple emails since I posted the video on youtube thursday or friday, and it seems we may have to do some more for each steps.
Let me know if you want more, how interested you were and what part was not clear enough so we can make progress in our video. This is a low tech production by the way.
Watch our video on Youtube