It is time to do shading on those 2 first panels.
The first thing I do is put the sand to heat. We have a cast iron pan on a 1500W hot plate containing about 2 inches of very fine sand.
Second thing I do the shading map.
When I do it home at night, while watching TV I do get a little more artistic like for the Treasure box series #1

Here I did it at work and was more practical


The main action in shading is diping


Depending on the species of the wood and the thickness of the veneer, it takes more or less time to shade. Do not overdo it though, if it smokes, it is burnt.
This green for example takes time to reach the shading point, but then I have to be careful because when it starts, it is quick.

The angle you dip your piece also has its importance. The pieces on the left are dipped with a wide angle and away from the centre where the heat is greater. The more the angle the more the gradience of the shading. On right I put them straight in the sand and close to the center, for a short shadow.

Other example for the tree, I dip the root with an medium angle

When you dip with an angle do it on both side of the piece to have an homogenous exposure to the heat

The top part receive a shorter shadow so it is dip straight.
I want to add a bit of shading on the right side of the tree, so it looks like the light comes from the left and will give more volume to the piece.

But the root do not permit dipping, so it is time for spooning.

The same than for angle dipping shade both sides


A little video we did on spooning
here is the difference with or without spooning

Panel 1

panel 2

Both of them
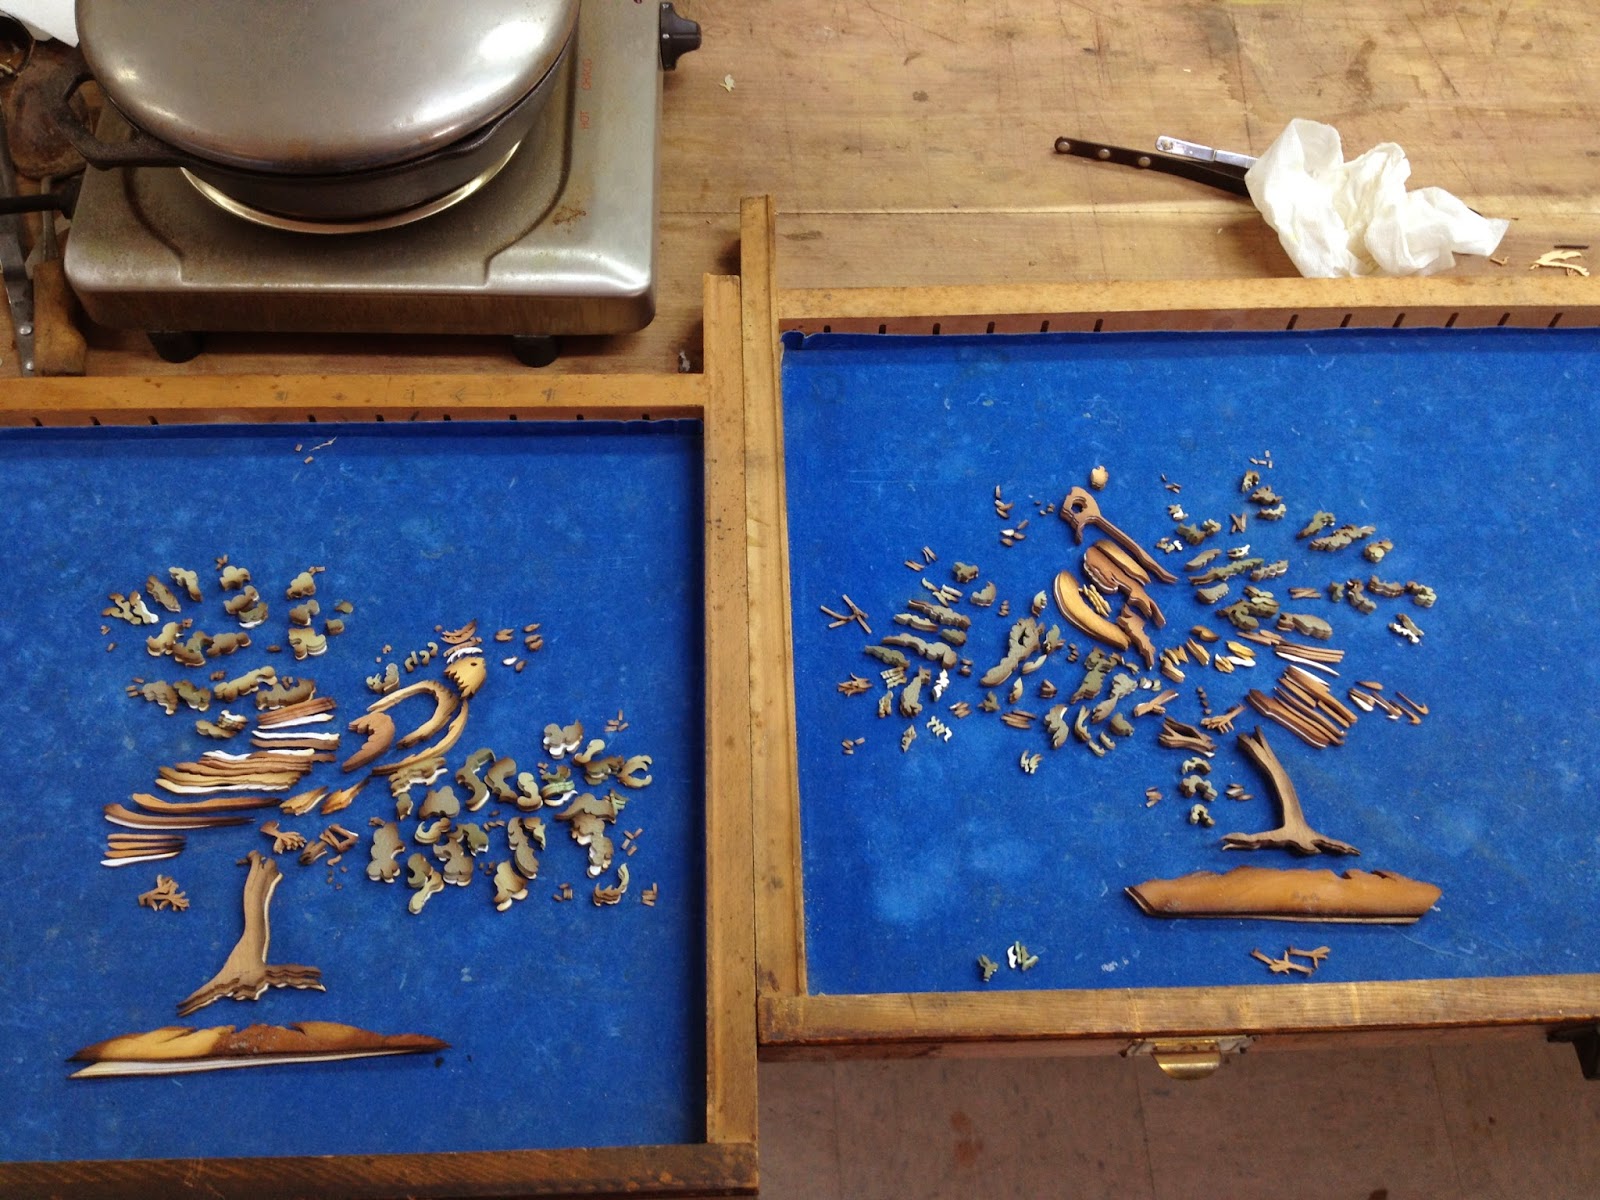
Detail of the Drawing and the pieces

Next step, cutting the background on the Chevalet

-- Patrice lejeune
No comments:
Post a Comment