We were contacted by a client to restore his Boulle cartel clock.
Boulle is no fun to restore, it is time consuming and quite a special.
For budget reasons we are restoring his piece by stages. The clock is composed of 3 parts and each of them will be restored in 3 sessions.

We will start with the top

We remove the bronzes

The unglued brass pieces are lifted and rubbing is made for the missing brass elements

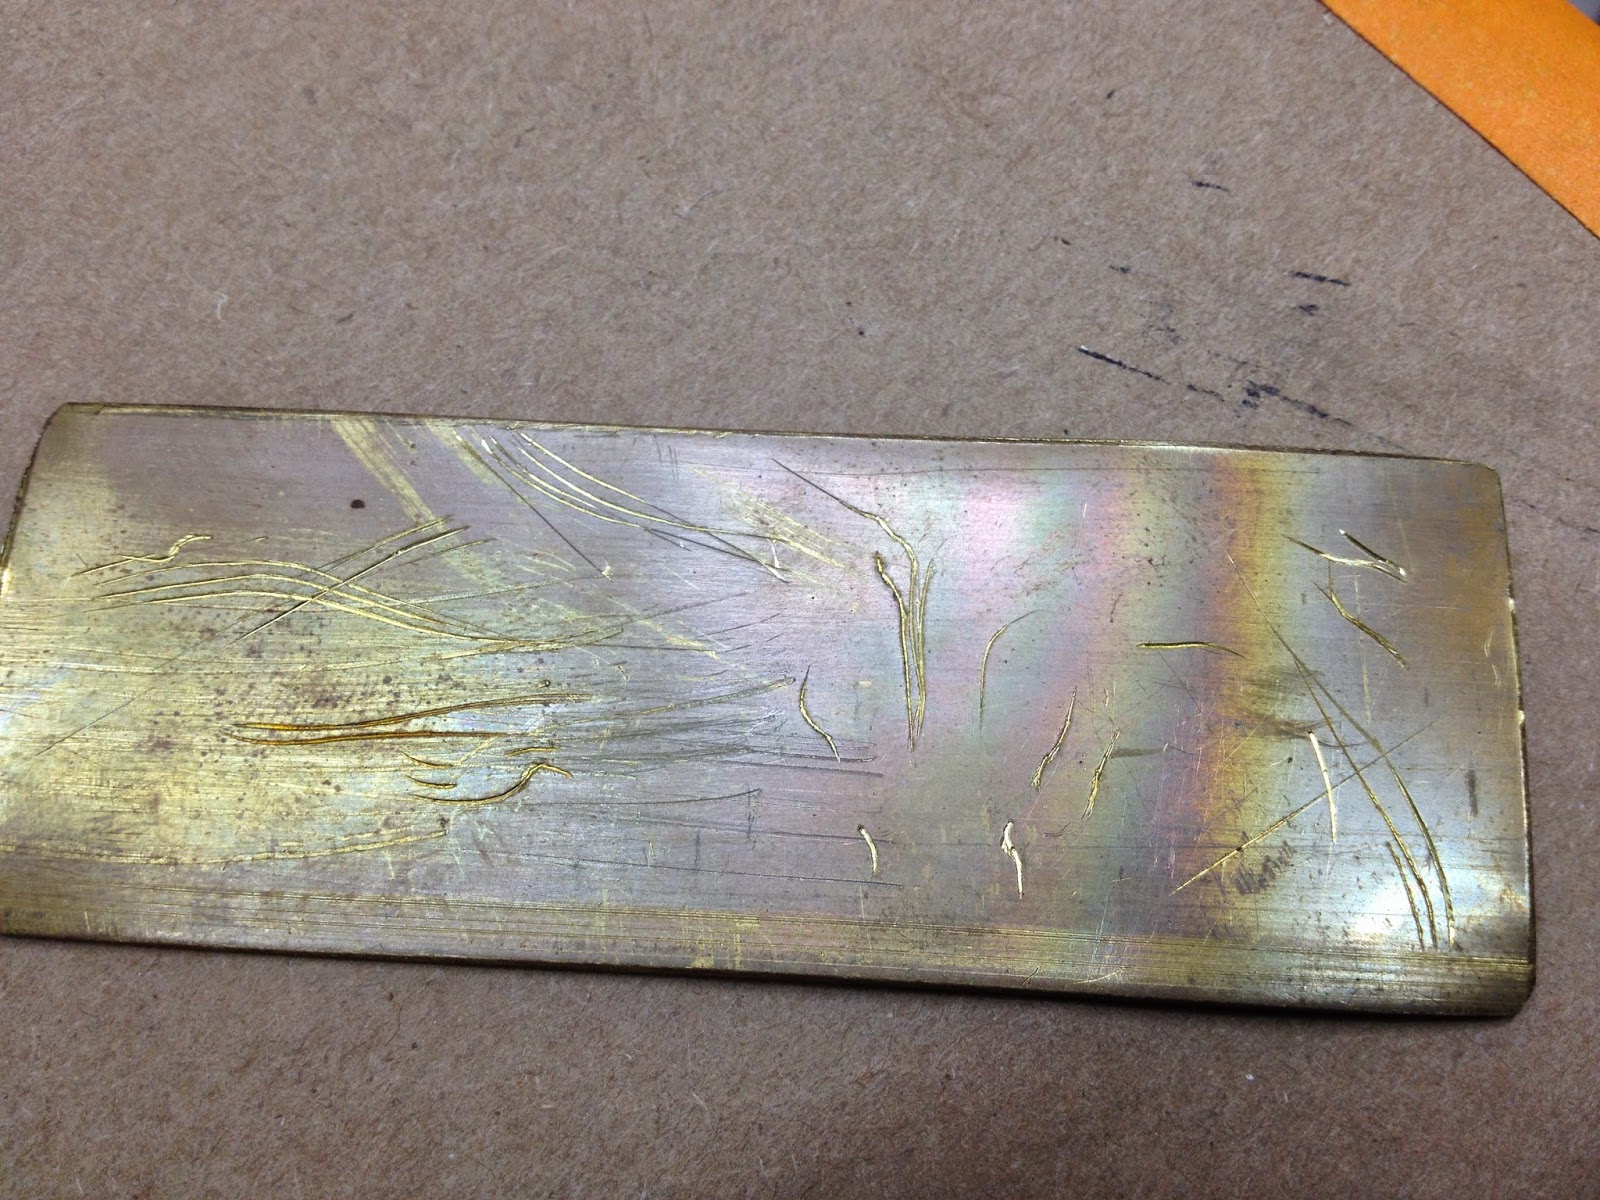
The cavities are full of oxidized glue that needs to be cleaned

We apply moisture enough to bring back the fish glue to gel but not to much, as it will un-glue the shell

The back of the brass needs to be cleaned also, b humidifying the glue and scraping it carefully without distorting the brass pieces.

Then the pieces are glued back using fish glue

My favorite for this curves is sand bag or hot sand bag

Time for clean up with “eau japonaise”, an acidic solution with a slight rubbing compound to take of the crud.

Of course with boulle, it will un-glue and I will have to re-glue and re-glue, until it is finally stable.
Then again more rubbing for the shell this time. I used some of our old stock legal shell, the vegetarian type that was used in the 19th century thinner than the meat eater used in earlier boulle. This clock as a black backed shell which is not the mos common color, usually they are backed with red.

Rubbing

Fitting and gluing

I did not take picture of the engraving of the brass but the new pieces had to be engraved. Here are the tools

The tools I used the most. The two on the left mostly with a predilection for the losange on the brass

I have couple left over engraving on bones for a repair we did on a bargueño those where a little or not deep enough so we have them. The bone is very brittle like the horn or the shell and the side of the engraving tool the “burin” needs to be real shap to avoid excess splitting and jagged edge on the engraving lines. So I use it to test the sharpening for the shell engraving

Brass is really tough on the tool and I need to resharpen often as soon as the point is dull, otherwise you rip and this is not good. Each time you sharpen you have to test your attack angle to go straight and not get draged deep in the material, that it turns well or permit regular straight lines etc…

Then pore-filling (more accurately gap filling) and engraving line filling with a mix of pumice and black ash first then ash alone.

I have rarely seen the horn being engraved but on that clock it is, one of the reason to choose a black shell

So after the black “pore filling” I cleaned the black filler out of the shell but the engraving was to faint for the gold to take so I had to re-engrave the shell to create a cavity a little deeper in order to be able to put some gold in there.
Then it is time for french polish


Re-glue the parts

Clean the dirty bronzes while I clean the hide glue of the french polish and touch up the finish where I may have left a print or two

I put an overlay of orange shellac to go a little more on the gold side

Some of the details of the new brass pieces


And now put back everything together


Before
And after
The client is happy and is going to send the next part, so see ya in episode 2 of Boulle Clock Repair!
Thank you for following
-- Patrice lejeune
Amazing work, Patrice, Thankyou for posting!
ReplyDeleteBrian Webster
Southern Restorations
Looks amazing so far and very time consuming.
ReplyDeleteI’m thinking of refurbishing my own French boulle clock
Yes, restauring Boulle is time consumming. You can send us pictures if you would like us to work on your clock. You can visit our website antiquerefinishersinc.com
Delete